What is DHCP Failover?
enables two Microsoft DHCP servers to share service availability information with each other, providing DHCP high availability. DHCP failover works by replicating IP address leases and settings in one or more DHCP scopes from a primary DHCP server to a failover partner server.
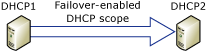
All scope information is shared between the two DHCP servers, including active leases. This enables either DHCP server to assume responsibility for DHCP clients if the other server becomes unavailable.
Introduction to DHCP failover
With DHCP failover, DHCPv4 scopes can be replicated from a primary DHCP server to a partner DHCP server, enabling redundancy and load balancing of DHCP services. DHCP servers that share a failover-enabled DHCP scope are called failover partners. Microsoft’s implementation of DHCP failover is based on the Internet Engineering Task Force (IETF) DHCP Failover Protocol draft.
When two DHCP servers are configured for failover, they will share scope information, including all active leases. This enables both DHCP servers to provide leases to the same subnet for load balancing or redundancy purposes. Scope settings are replicated when you first configure DHCP failover, and can be replicated again later if configuration changes are made.
So let begin with the process,
The DHCP server failover feature provides the ability to have two DHCP servers serve IP addresses and option configuration to the same subnet or scope.
~*~ i assume most of you already know how to install DHCP Services on the Windows Server 2016 ~*~
1 – open Server Manager and click Tools, you will see DHCP stated in the list, click the DHCP to open the console.

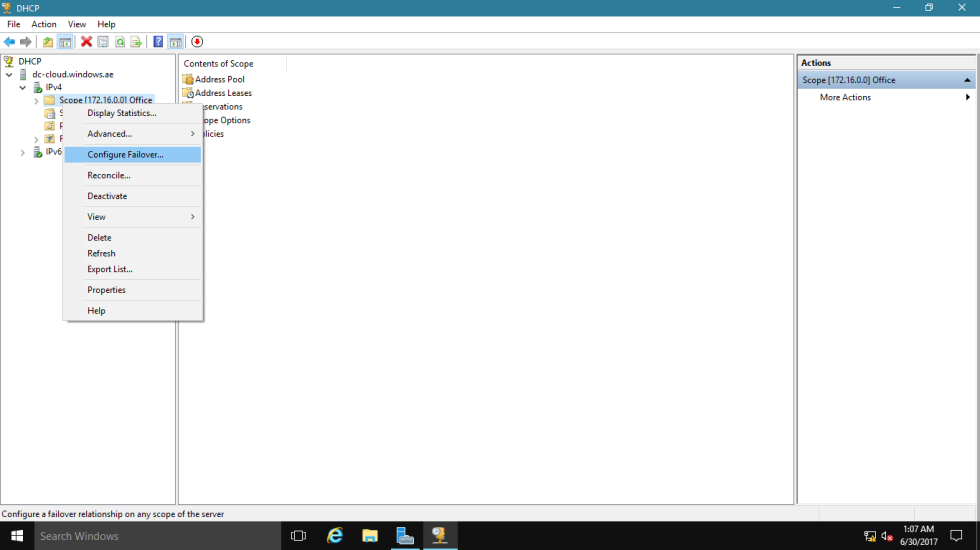
2 – Right Click IPv4 and click Configure Failover.
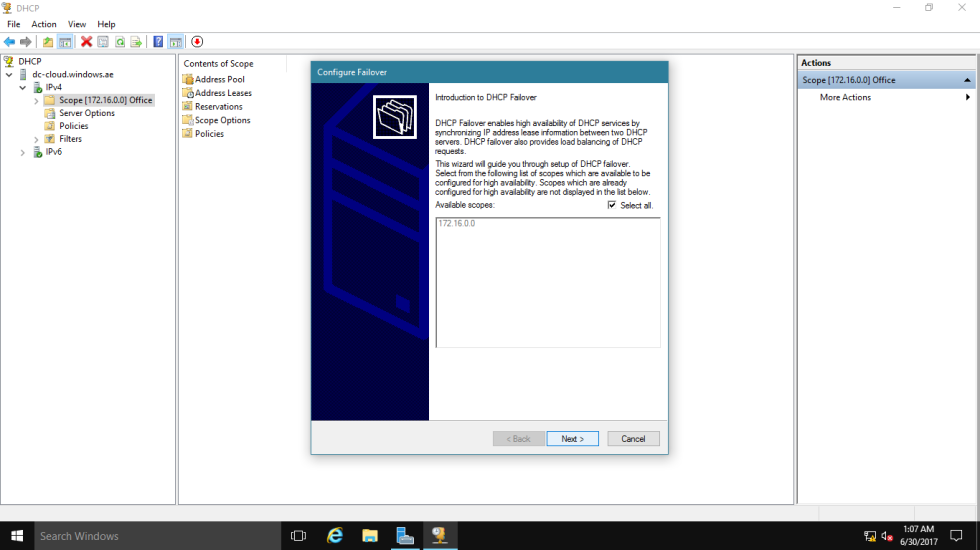
3 – On the Configure Failover introduction page, confirm the Available scopes and click Next.
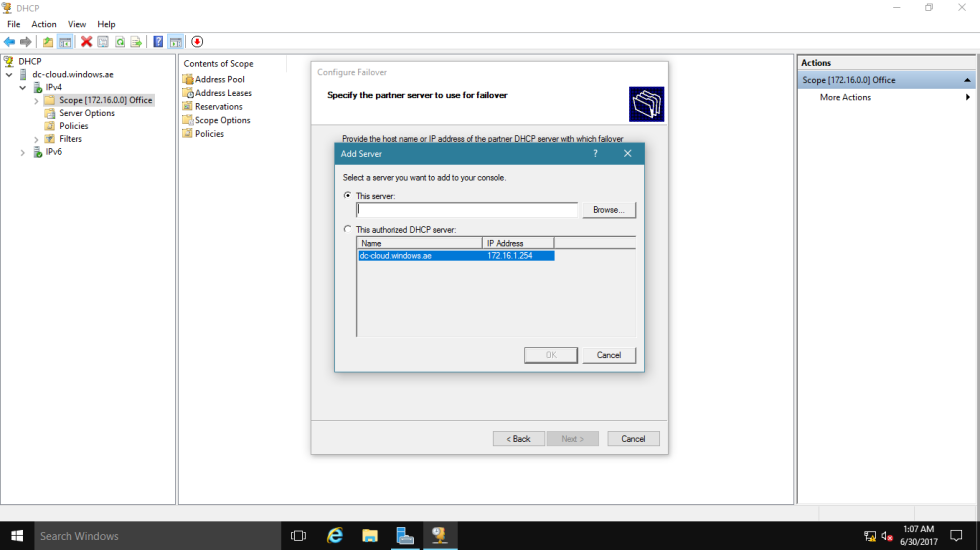
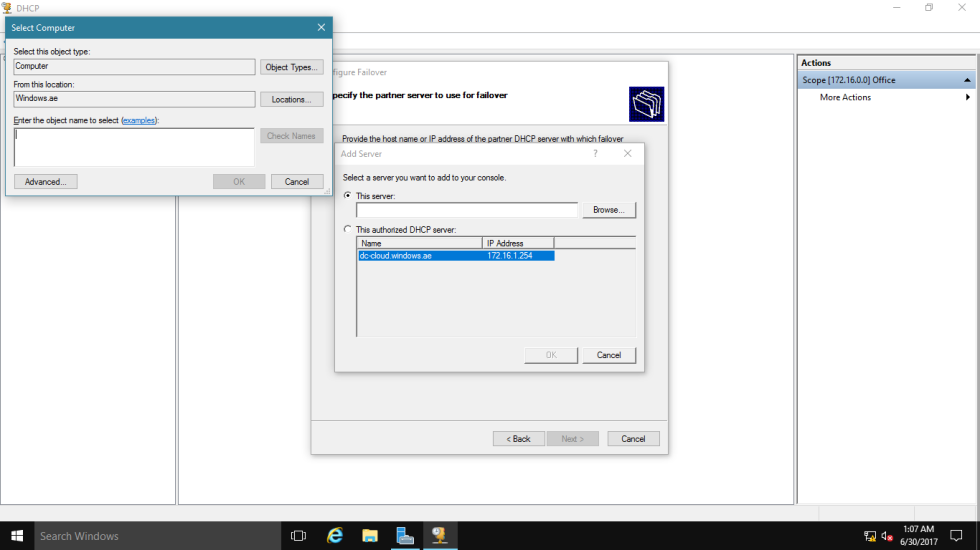
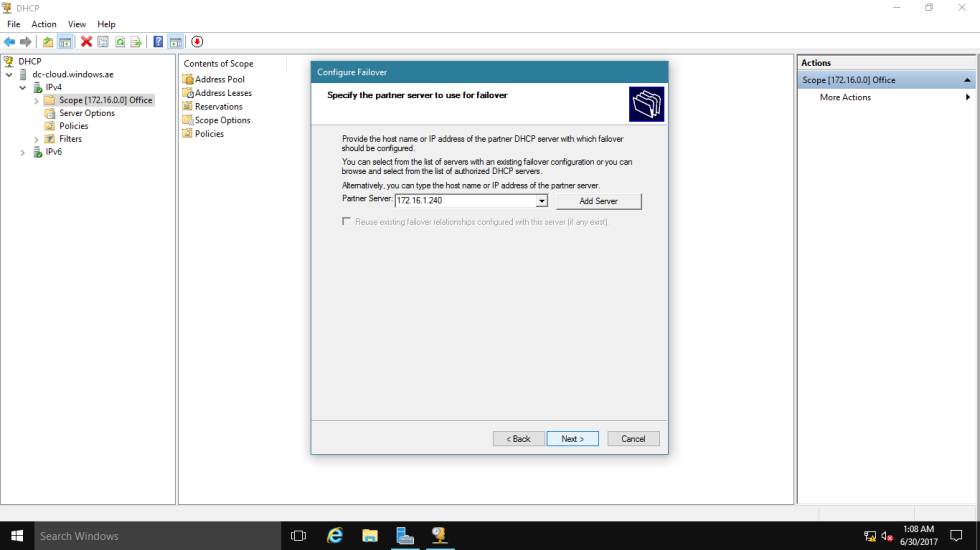
4 – Next, on the Specify the partner server to use for failover page, click Add Server and choose your 2nd DHCP Server.
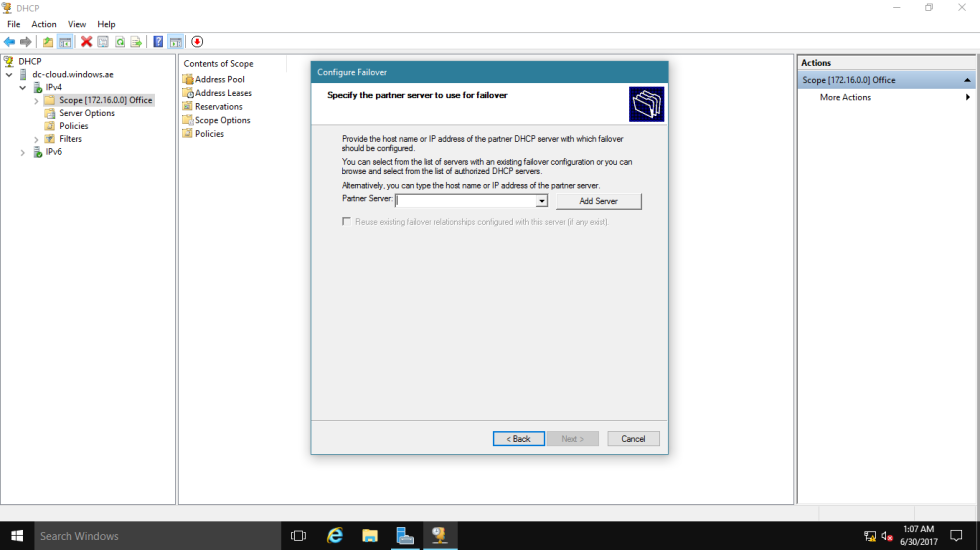

5 – Next, confirm that 2nd DHCP Server IP address listed in the Partner Server box and click Next.
6 – On the Create a new failover relationship box, there are some configuration that you need to take point :
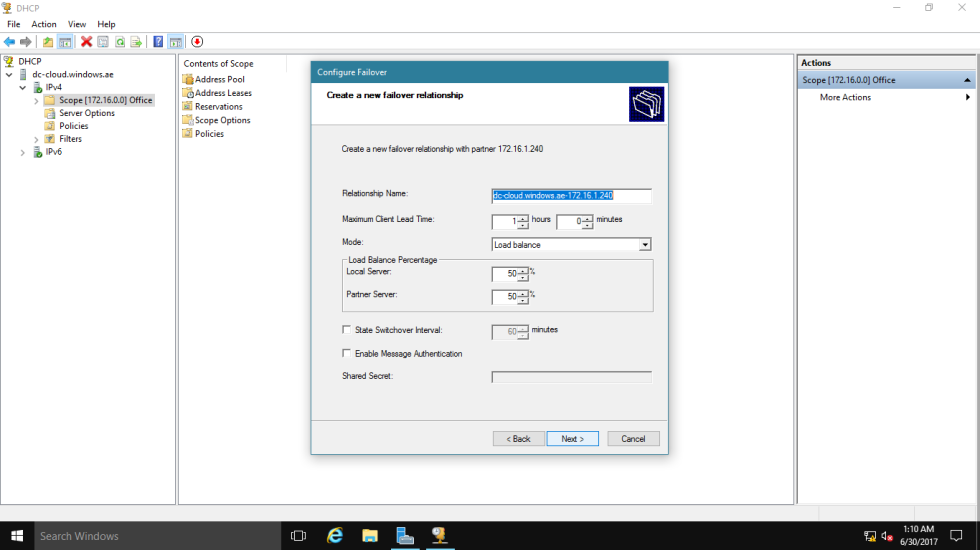
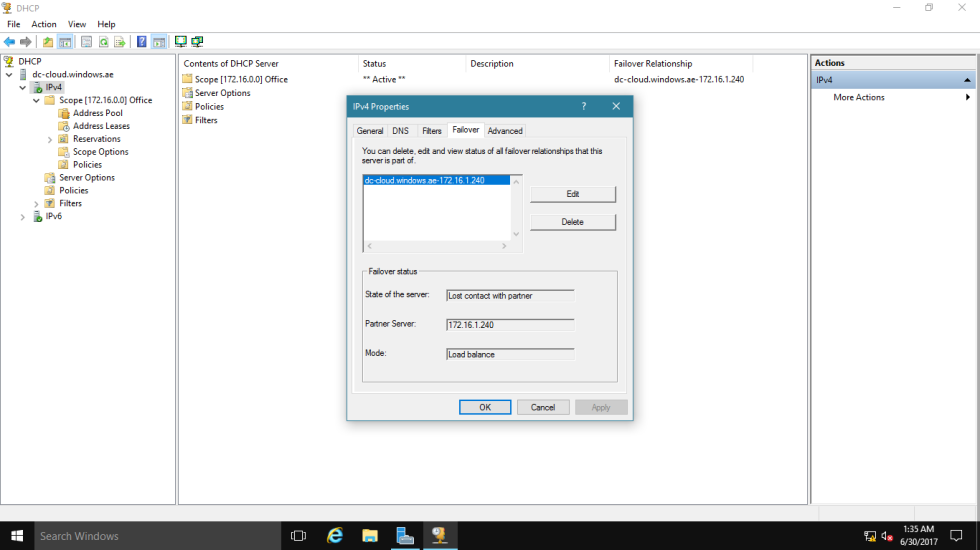
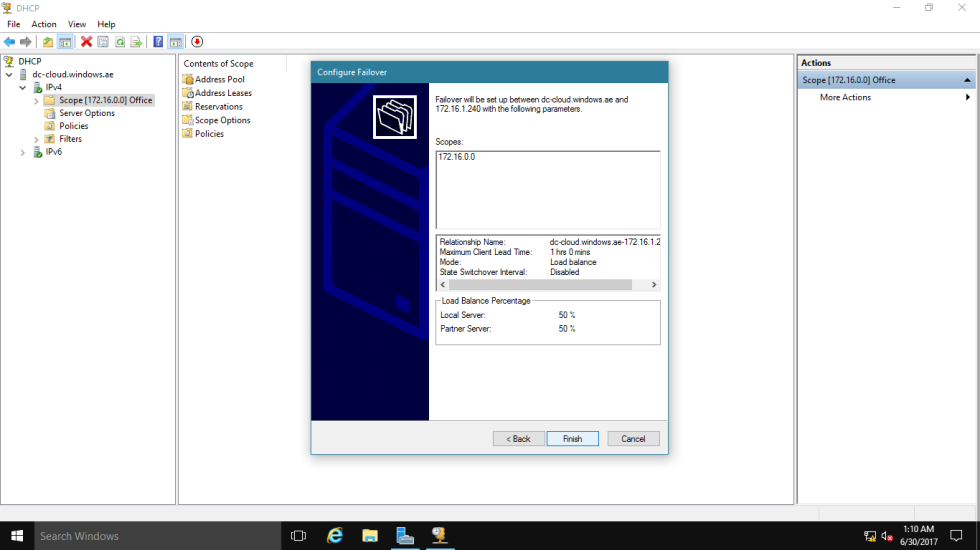
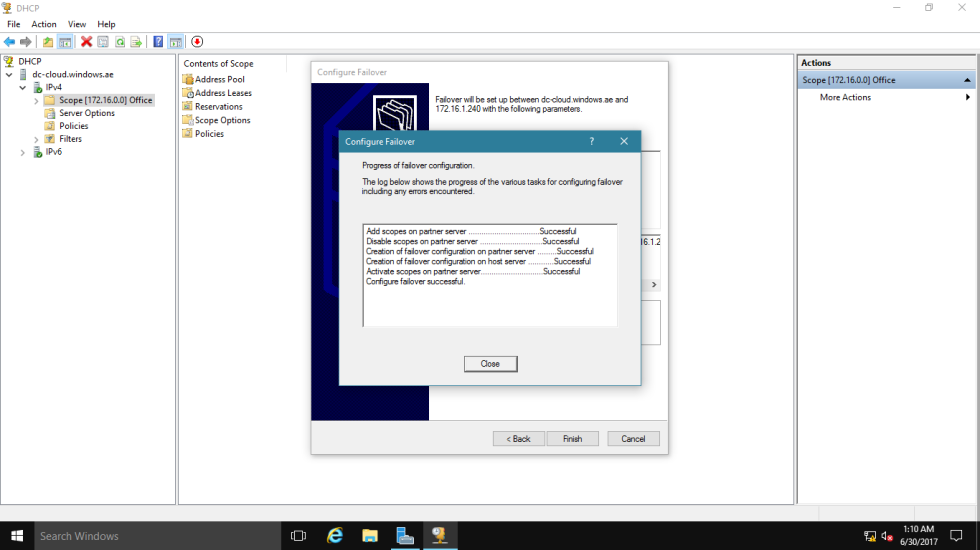
Relation name : Each relationship name is required to be unique on a server.Maximum Client Lead Time : It defines the temporary lease period given by the failover server to a new client. Mode : There are two modes for DHCP failover which are “Hot Standby” and “Load balance“. In hot standby mode, 2 servers operate in a failover relationship where an active server is responsible for leasing IP addresses and configuration information to all clients in a scope or subnet, while a secondary server assumes this responsibility if the primary server becomes unavailable. A server is primary or secondary in the context of a subnet. In a load balance mode deployment, which is the default mode of operation, the two servers simultaneously serve IP addresses and options to clients on a given subnet. The client requests are load balanced and shared between the two servers. Auto State Switchover Interval : A server that loses communication with a partner server transitions into a communication interrupted state. The loss of communication may be due to a network outage or the partner server may have gone offline. Since there is no way for the server to detect the reason for loss of communication with its partner, the server will continue to remain in communication interrupted state until the administrator manually changes the state to partner down. Alternatively, DHCP failover has a provision for automatic transition to partner down state based on a time out interval. This is a configurable element called the auto state switchover interval. The default value for auto state switchover interval is 10 minutes. Enable Message Authentication : To configure message authentication, the DHCP failover setup wizard prompts the administrator to provide a shared secret. As part of the failover relationship creation, the failover setup wizard provisions the shared secret for message authentication to each of the servers in the failover relationship. 7 – Next, confirm the settings and click Finish.
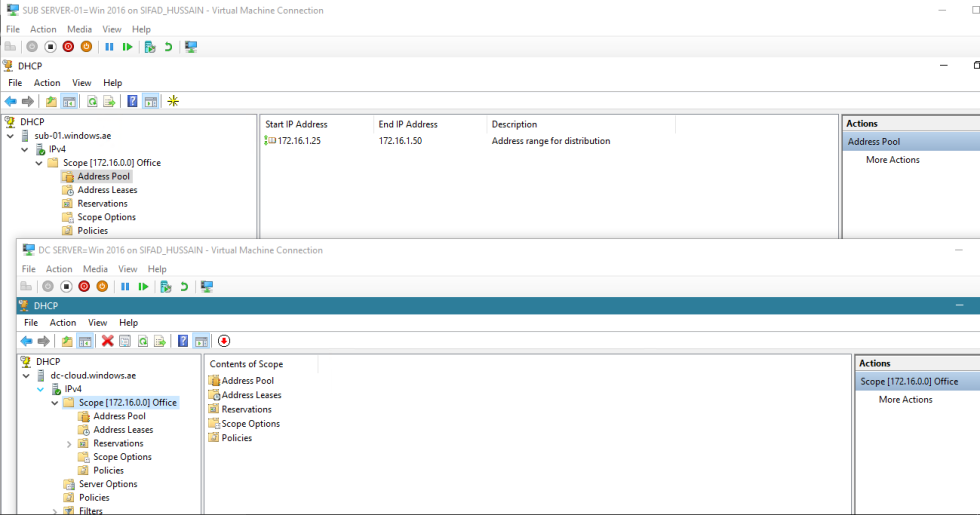
8 – Now log in to both of the DHCP Server (in my demo DC-CLOUD and SUB-01, which both Server hosted my DHCP). Confirm that both DHCP Services is running and you can have both Server having same settings.
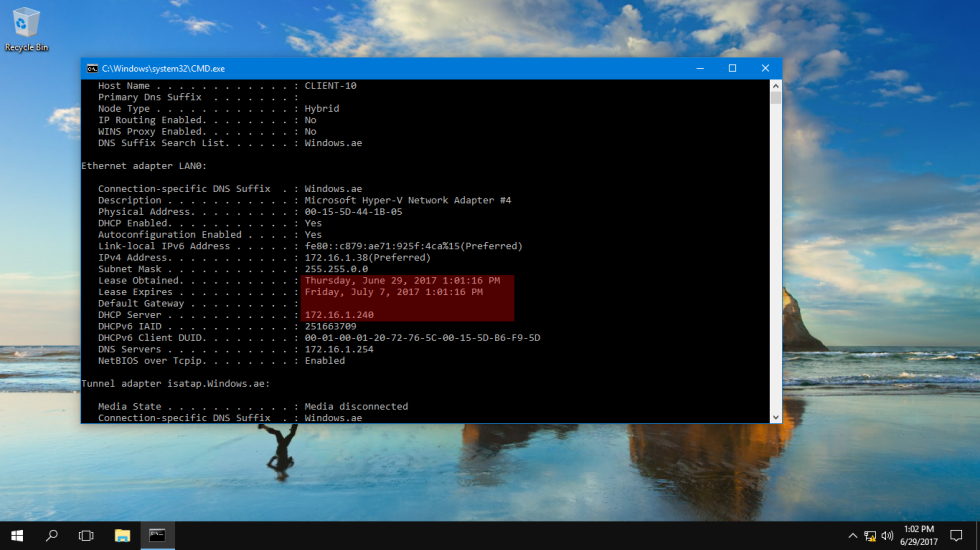
9 – Next, log in to your client PC, in my Demo i have Windows 10 machine and now open command prompt and type ipconfig /all to get IP information. – Confirm that your client machine is receiving IP from DHCP Server. in my Demo the IP is coming from my SUB-01 server (172.16.1.240) – to test the DHCP Failover, disconnect the network on the 1 of the DHCP Server (in my Demo it SUB-01 server)
10 – now, release and renew the IP from your client machine “(ipconfig /release.. ipconfig /renew)” please refer to picture.
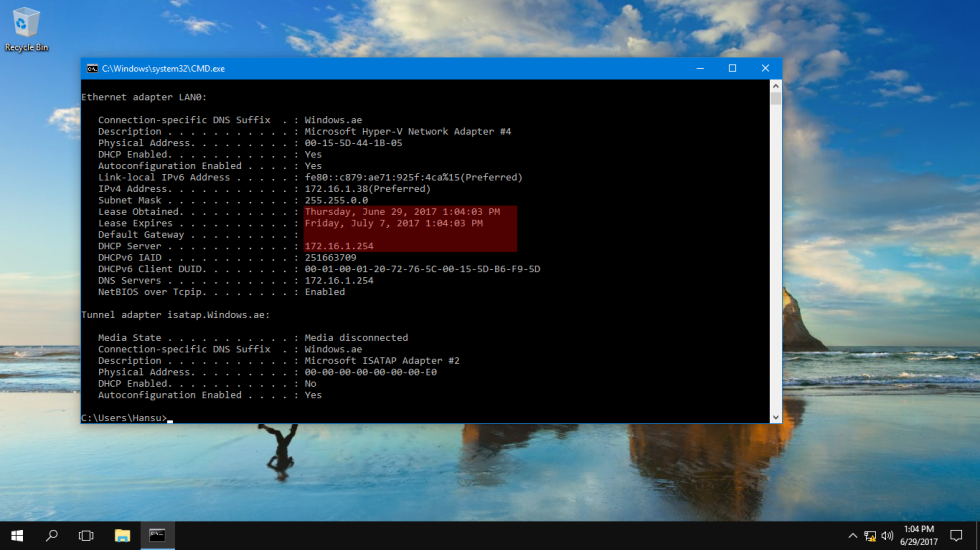
11 – confirm that you now receive IP from another DHCP Server (in my Demo its DC-CLOUD with IP 172.16.1.254). – So it prove that our DHCP Failover is working.