In a workgroup environment the most common way to create the certificates for Hyper-V hosts was to use the makecert utility but, given that this utility is depricated now and the new cmdlet New-SelfSignedCertificate is available instead in Windows Server 2016, the process of configuring workgroup replicas became a bit easier. In these two articles I’d like to walk all the steps required for setting up replication in Windows Server 2016 workgroup as well the steps required for the testing of the newly-created replica.
It is ridiculous but I failed to find any COMPLETE step by step explanation from MS regarding setting up replication in a non-domain environment so I will explain here all issues an administrator may be facing with while configuring replication according to the few articles found on msdn/technet sites.
Let’s get started by finding out whether any prerequisites exist for deploying a workgroup replica.
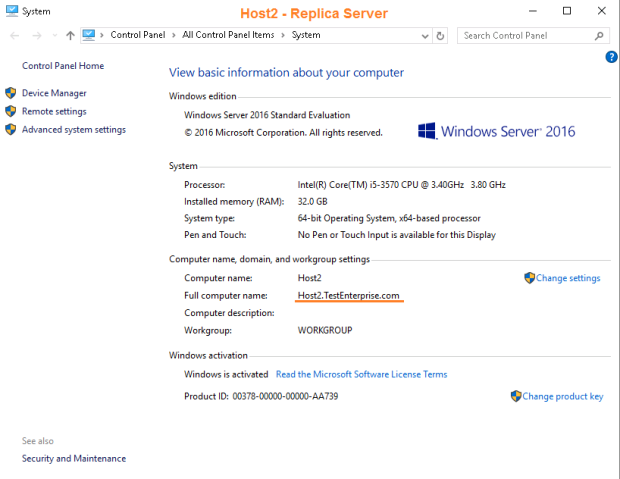
As you already may know there are two types of authentication in Hyper-V: Kerberos and HTTPS certificates. Considering Kerberos is available only in domain environments we have no any other choice but to use the certificate based authentication. The prerequisites for this type of authentication are rather simple: the Subject field of a certificate should be set to Hyper-V server name (either primary or replica server) and the Enhanced Key Usage should be the Client and Server authentication – here is the full explanation of the prerequisites.
Of course, https traffic should be allowed on server firewalls (I’ve disabled the firewalls on my host servers so I won’t publish the corresponding screenshots).
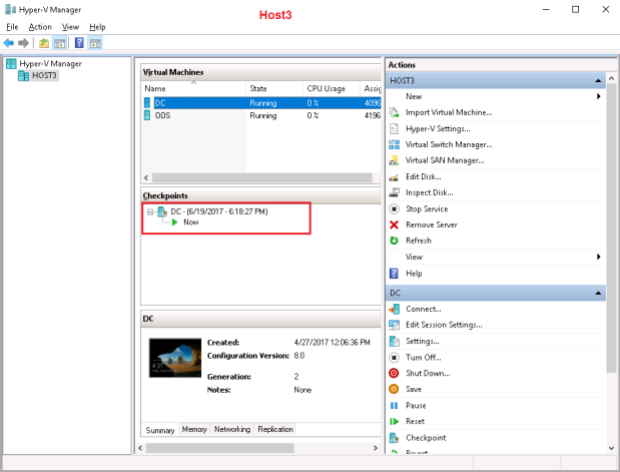
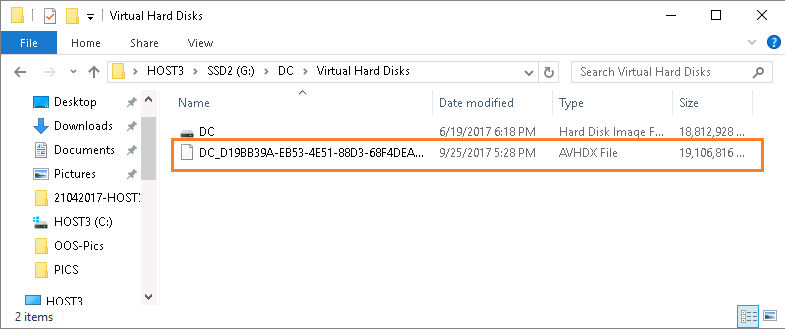
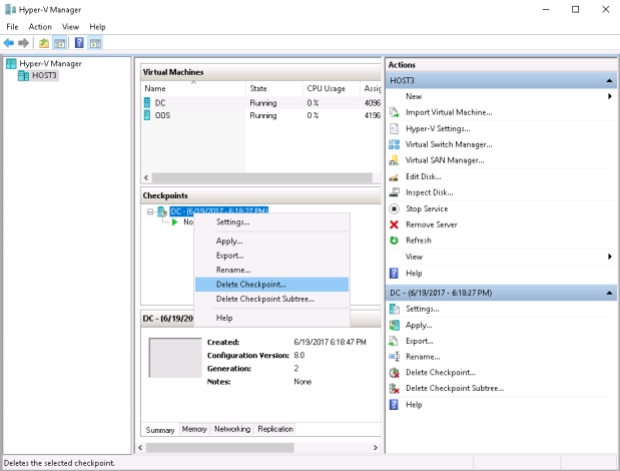
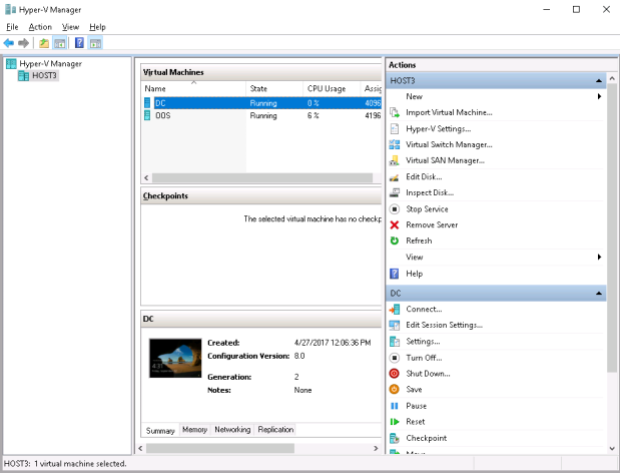
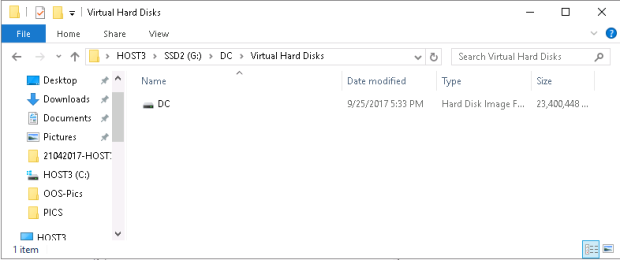
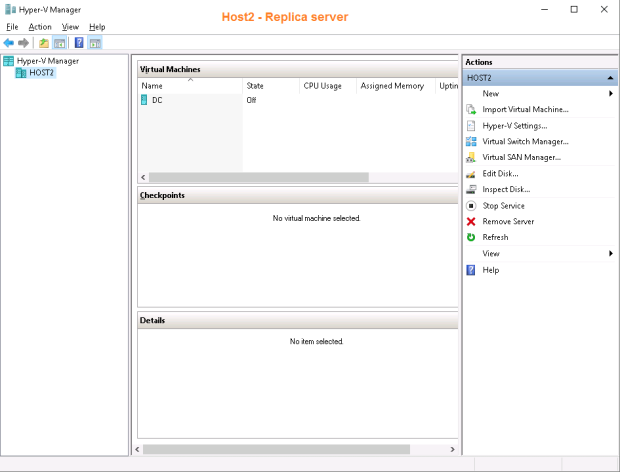
One more thing to note: virtual machine to be replicated should not have any checkpoints – there should be only one vhdx file available for replication so I delete the single checkpoint of the vm – DC – that I’m going to replicate:
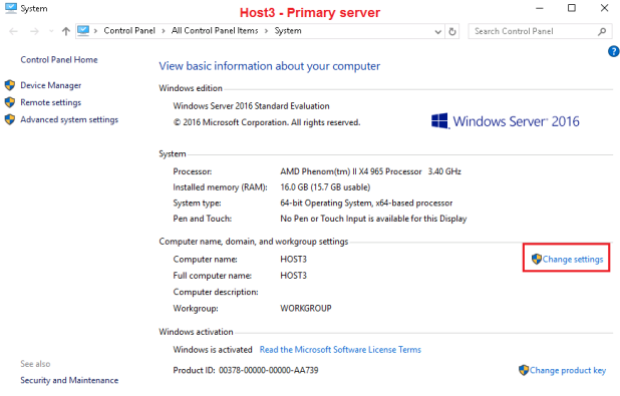
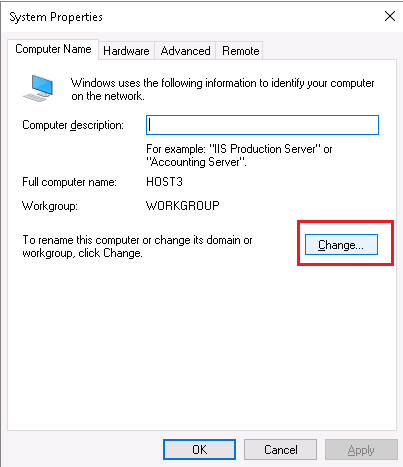
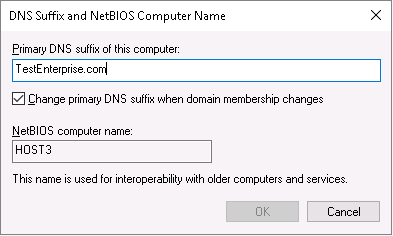
Having determined the prerequisites I can proceed to creating these certificates with the New-SelfSignedCertificate cmdlet…. But although it’s not a prerequisite I prefer adding the main dns suffix to those of my workgroup servers which are used in cluster/hyper-v deployments (for example, adding the main dns suffix is the prerequisite for a workgroup cluster as I wrote in Windows Server 2016: Testing Workgroup Cluster*) so my very first action will be this:

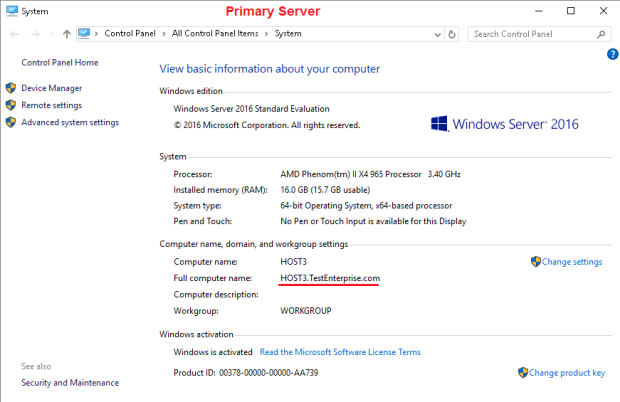
Now my goal is to create the two certificates: for Host3.Testenterprise.com and Host2.Testenterprise.com.
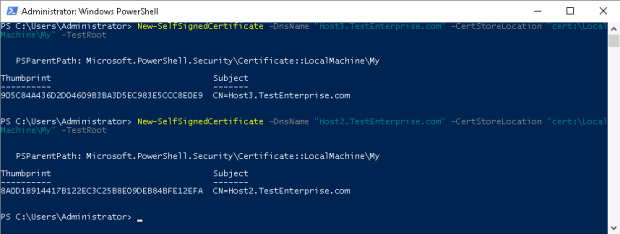
On Host3 I run the following commands:
New-SelfSignedCertificate -DnsName “Host3.TestEnterprise.com” –CertStoreLocation “cert:\LocalMachine\My” -TestRoot
New-SelfSignedCertificate -DnsName “Host2.TestEnterprise.com” –CertStoreLocation “cert:\LocalMachine\My” -TestRoot
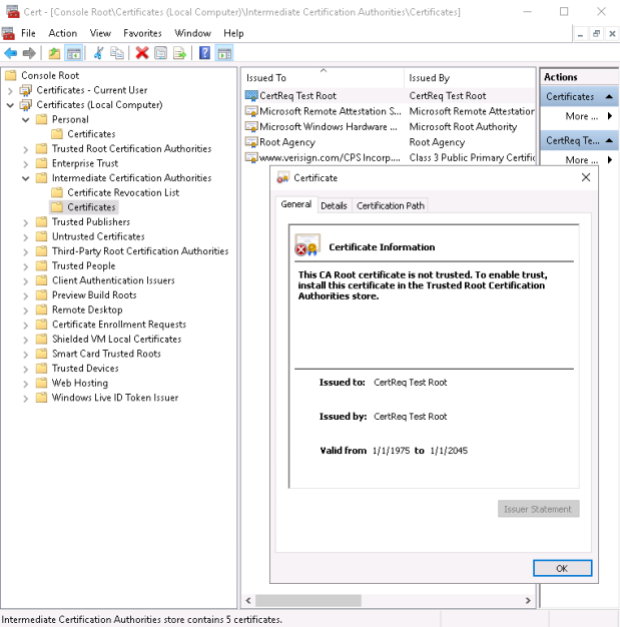
– as a result, the three certificates will be created: one for each server with the Enhanced Usage Key set to Client and Server authentication (although that was not explicitly stated!) and the test root CA certificate – CertReq Test Root – which by default will be placed in the Intermidiate Certification Authorities.
I’d like to stress the need for the -TestRoot parameter: you may create certificates without it but Hyper-V will not allow to use self-signed certificates for replication!
The two server certificates:
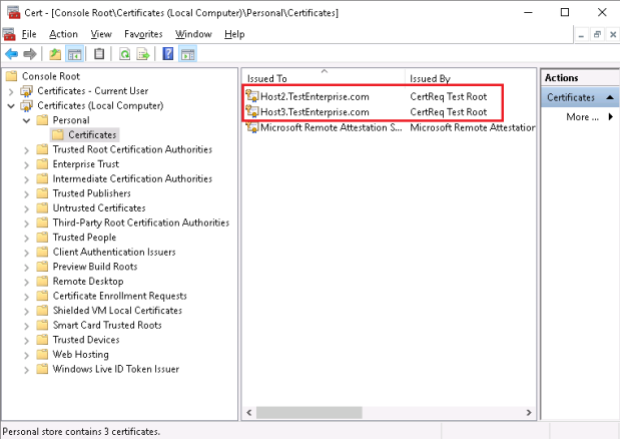
As the CertReq Test Root certificate is NOT in the Trusted Root Certification Authoritiesthese certificates will be untrusted:

The root test CA certificate:
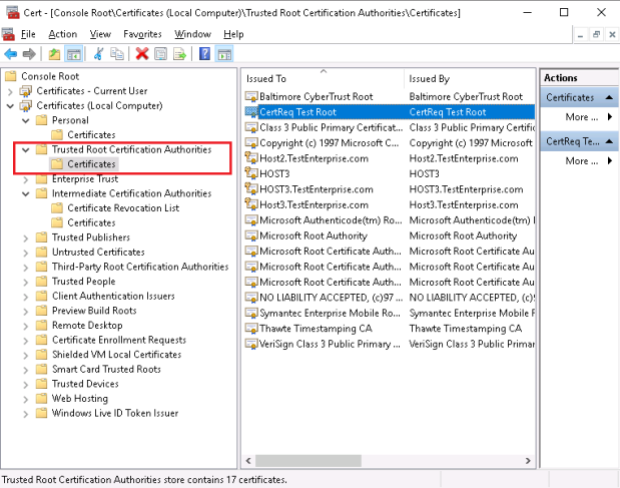
After moving/coping the CertReq Test Root certificate to the Trusted Root Certification Authorities the server certificates become trusted:
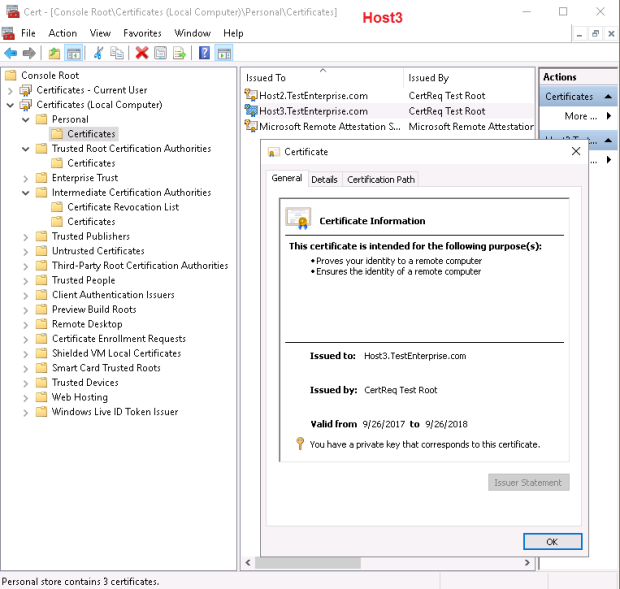
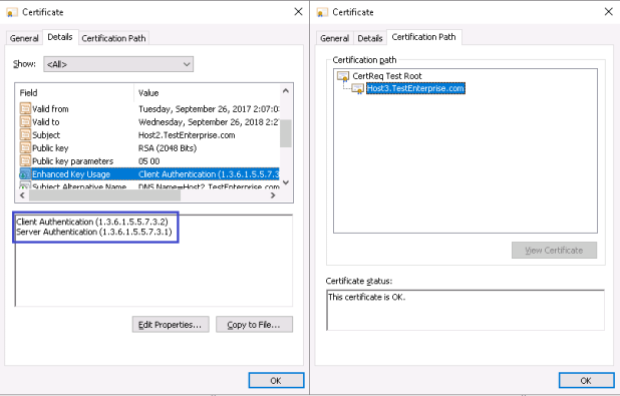
The properties of the Host2.TestEnterprise.com certificate: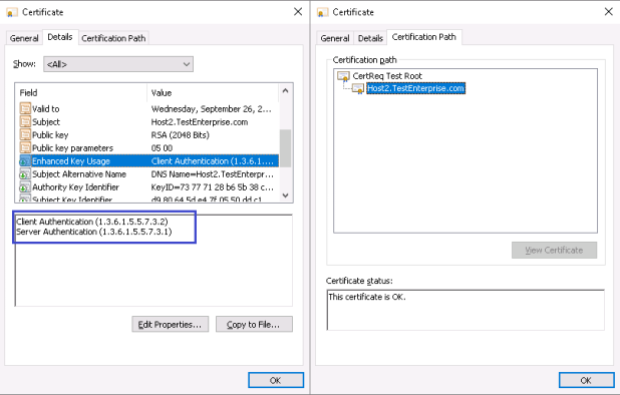
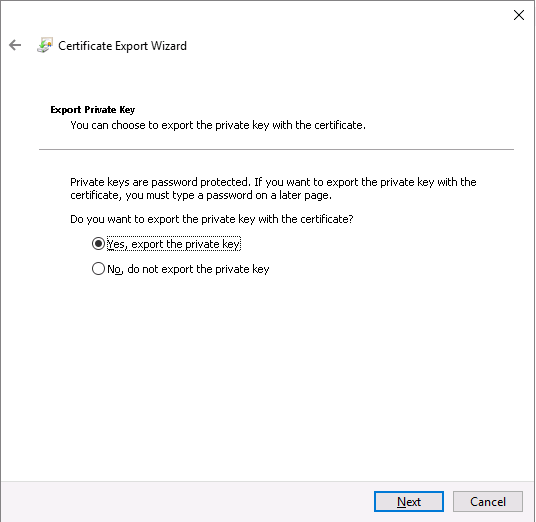
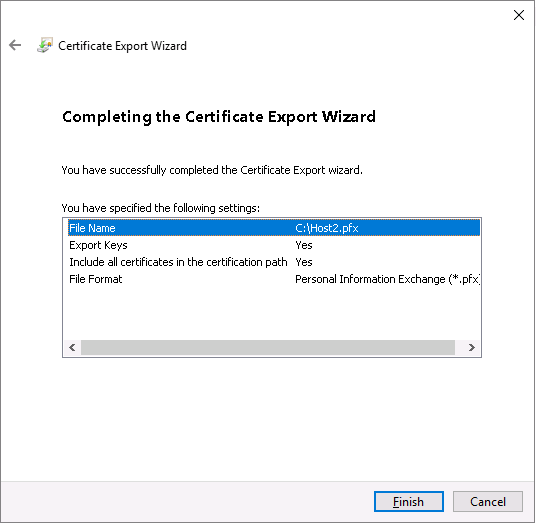
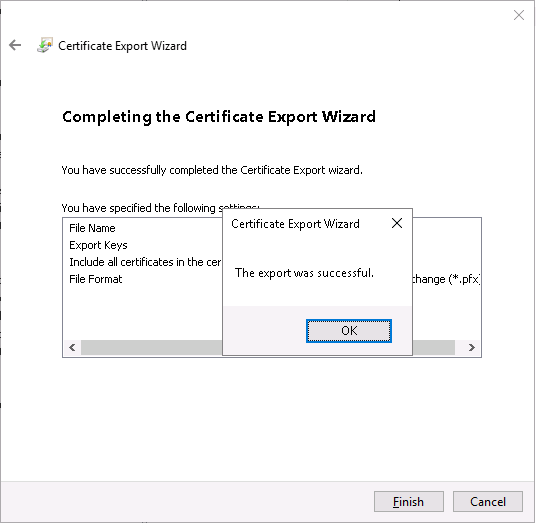
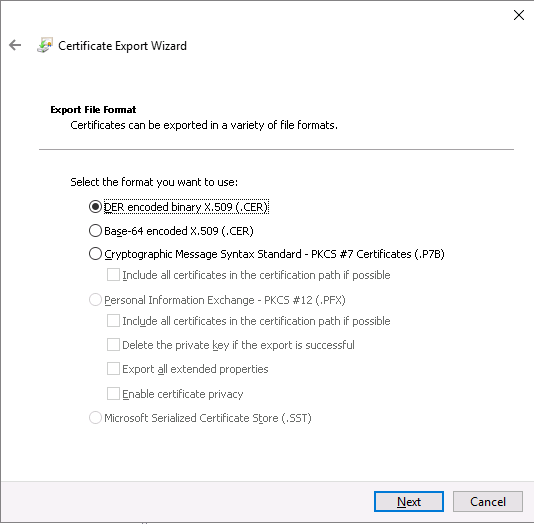
The certificates for the primary server – Host3.Testenterprise.com – have been configured. The next step is to export the host2 server certificate along with the CertReq Test Root certificate and import them into Host2.Testenterprise.com.
Host2.Testenterprise.com certificate: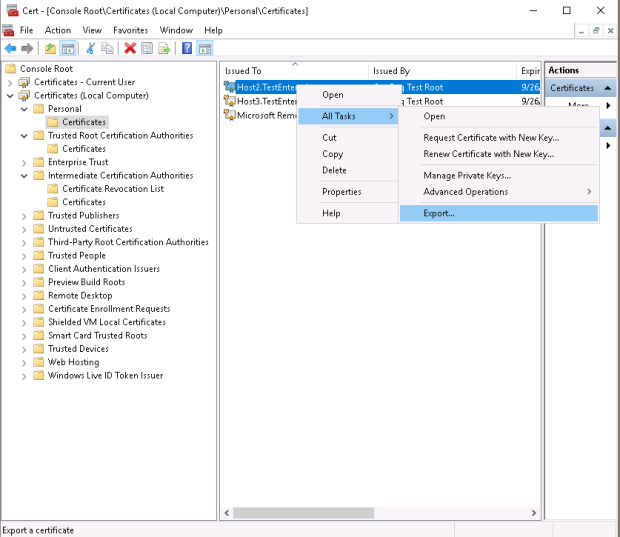

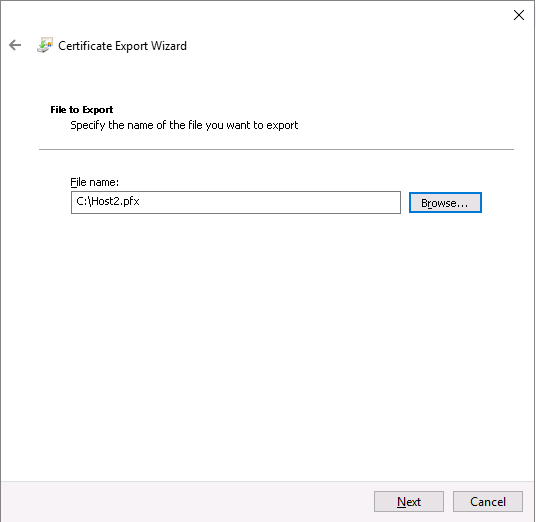
CertReq Test Root certificate: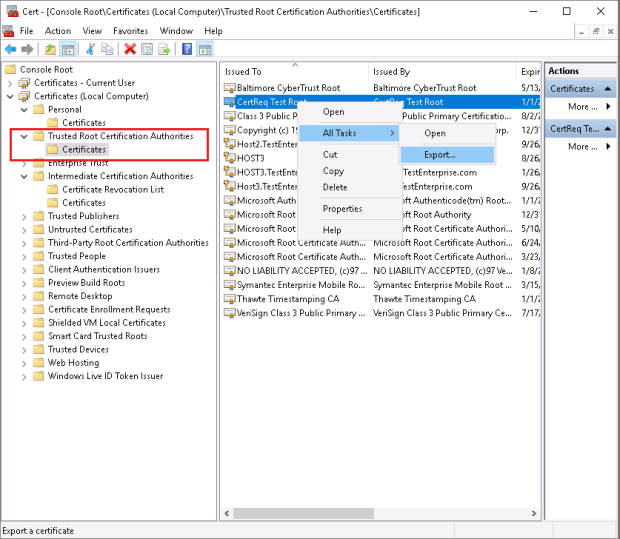


I then copy these two certificate files to \\host2\c$ …
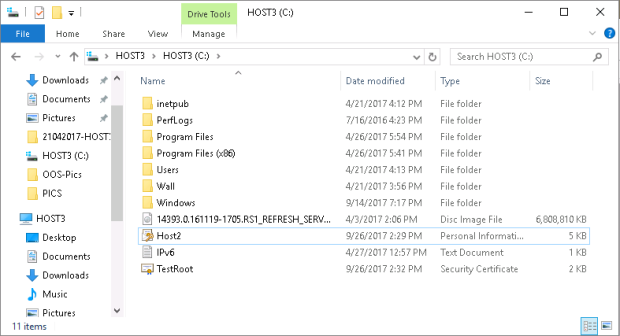
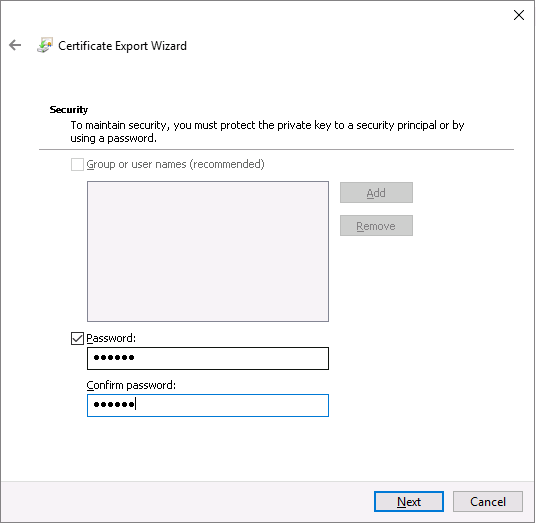
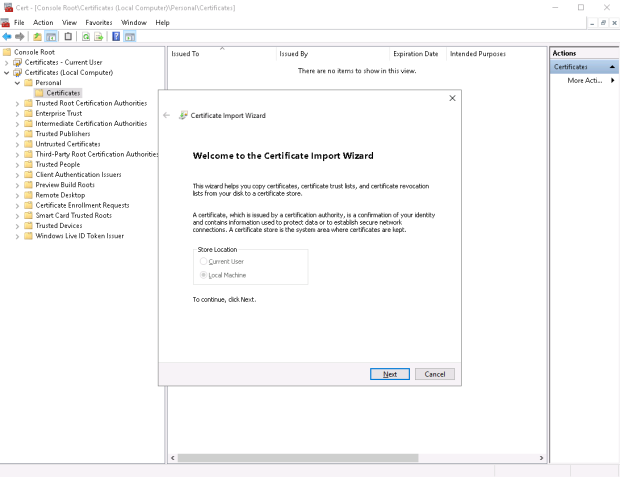
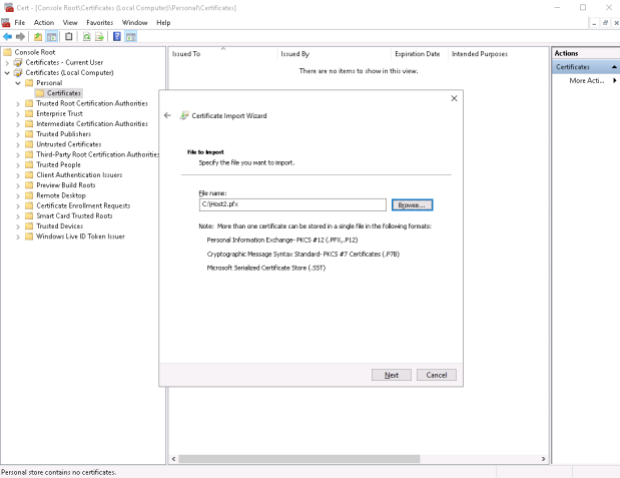
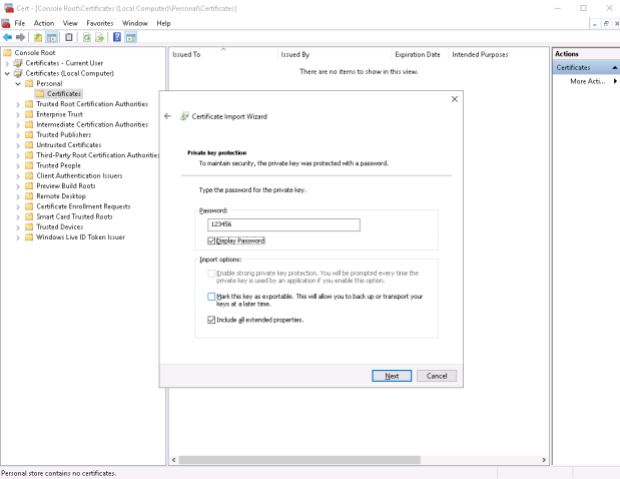
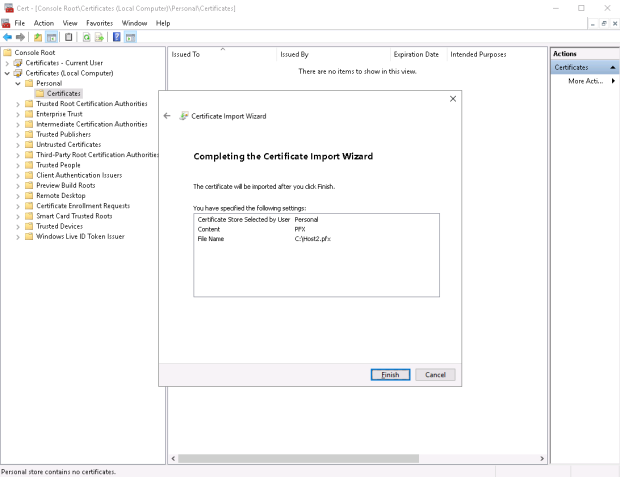
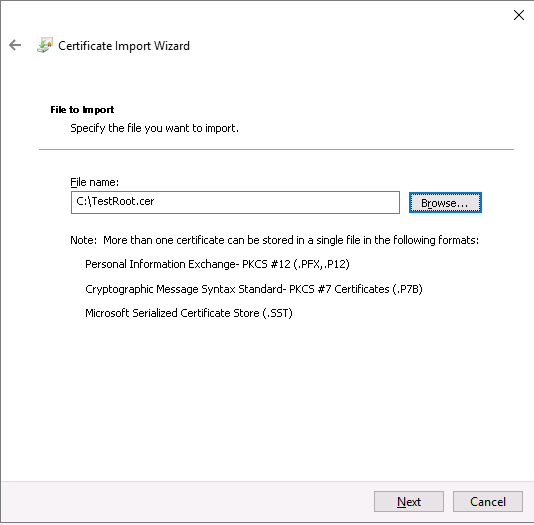
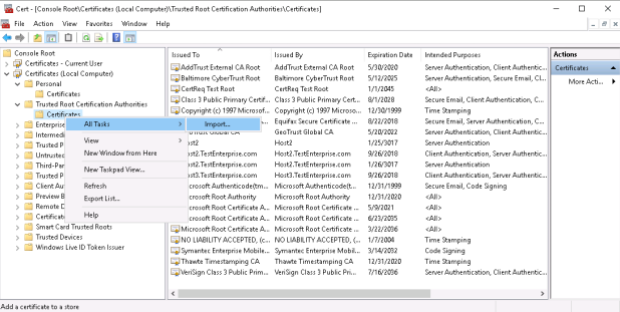
…and run the Import wizard on Host2.Testenterprise.com for two times.
1. Certificate\Personal\Certificates:
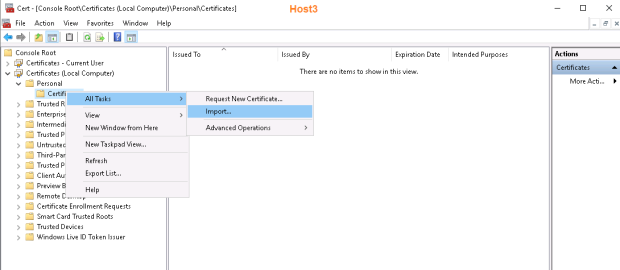
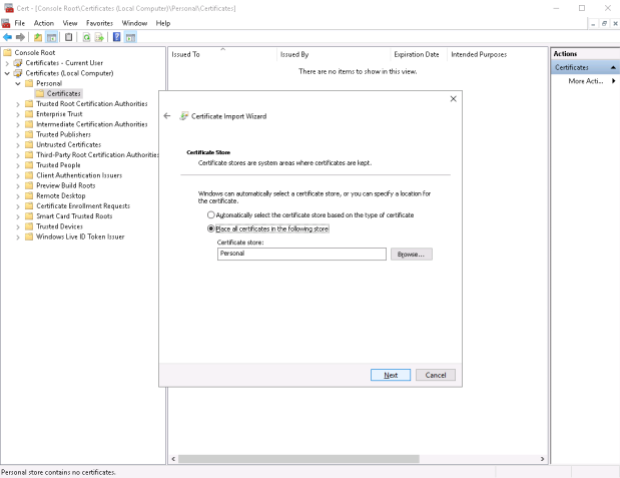
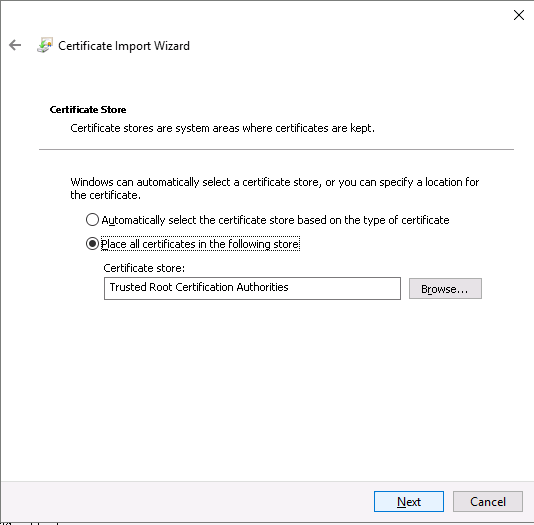
2. Trusted Root Certification Authorities:
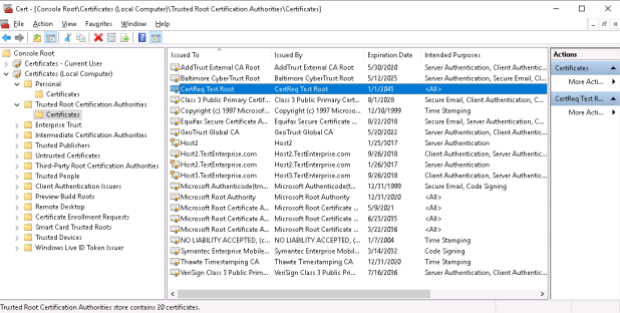
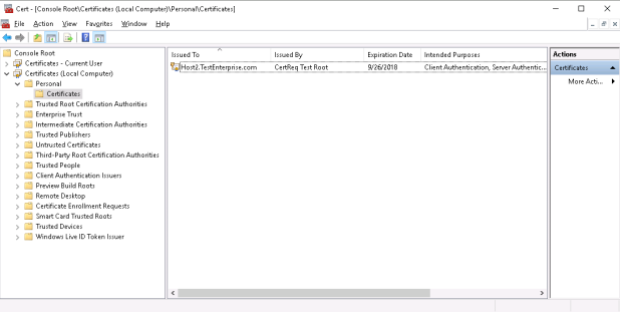
The result – Host2.TestEnterprise.com certificate is trusted: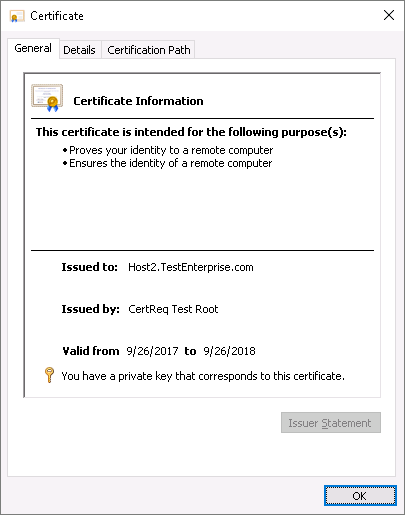
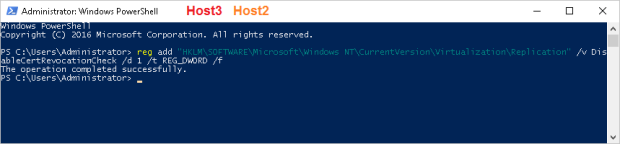
After all certificates have been created we must add the following registry key on both host servers:
reg add “HKLM\SOFTWARE\Microsoft\Windows NT\CurrentVersion\Virtualization\Replication” /v DisableCertRevocationCheck /d 1 /t REG_DWORD /f
– it will disable certificate revocation checking for the test certificates.
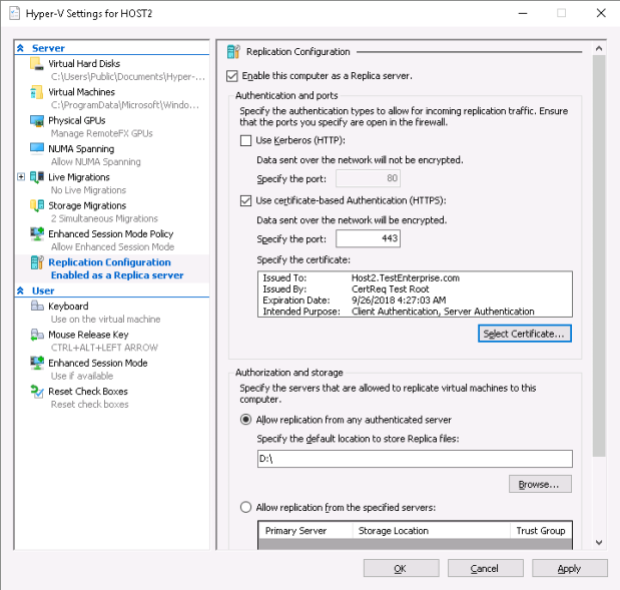
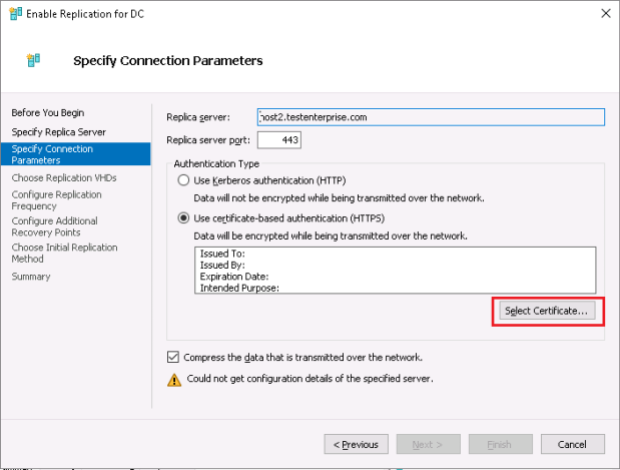
It’s time to configure Hyper-V replication settings on the replica server – Host2.TestEnterprise.com: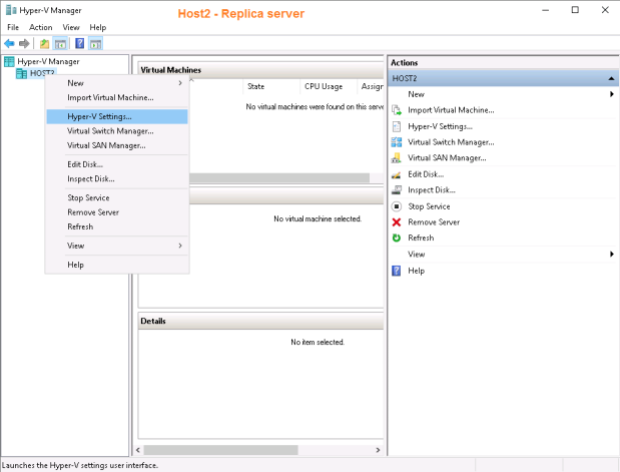
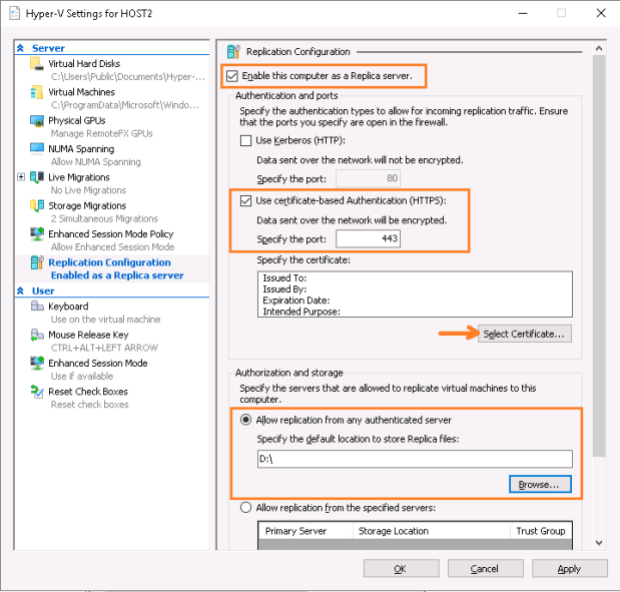
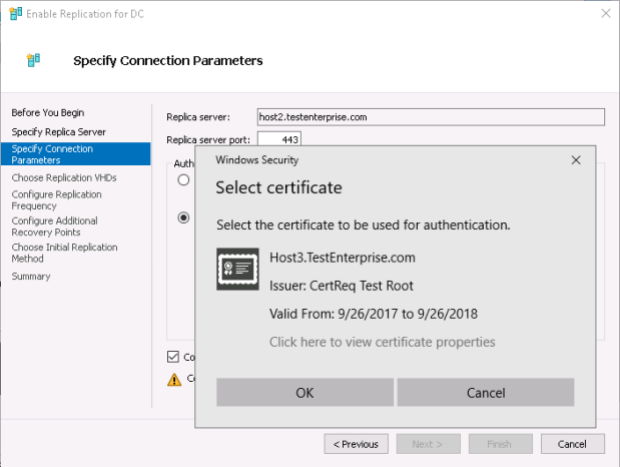
After selecting the options as depicted above (in this case my DC virtual machine should be stored on D:\) and pressing the Select Certificate… button the following window is displayed:
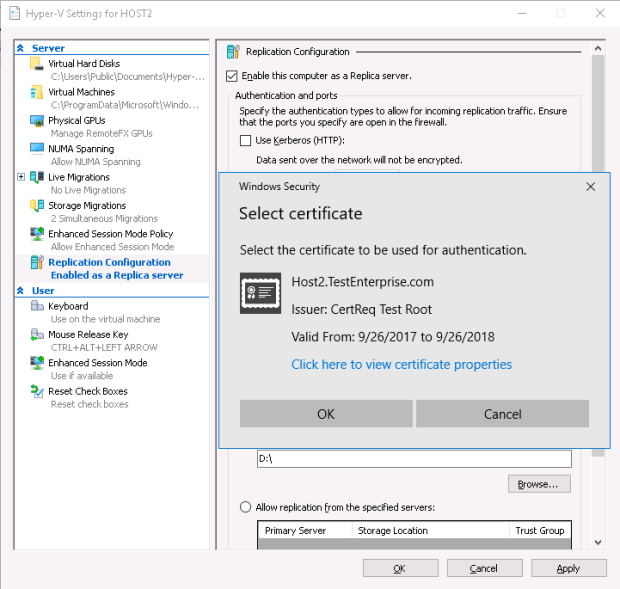
– Hyper-V suggests to use the server certificate I’ve added recently – I press OK …
…and Apply – configuration of the replica server is complete.
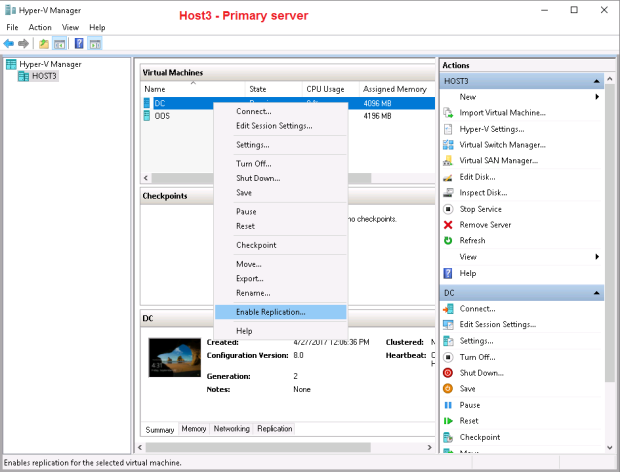
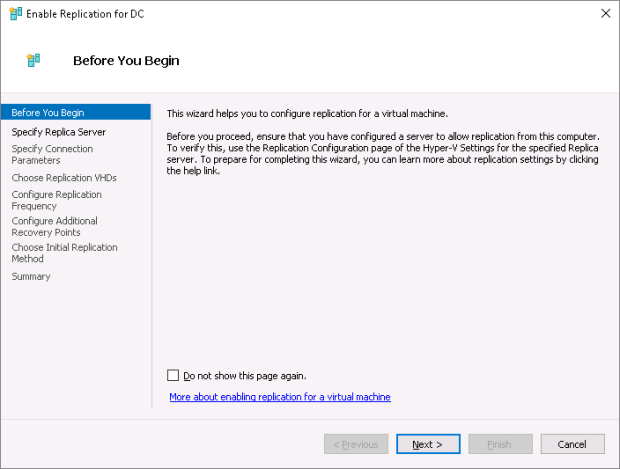
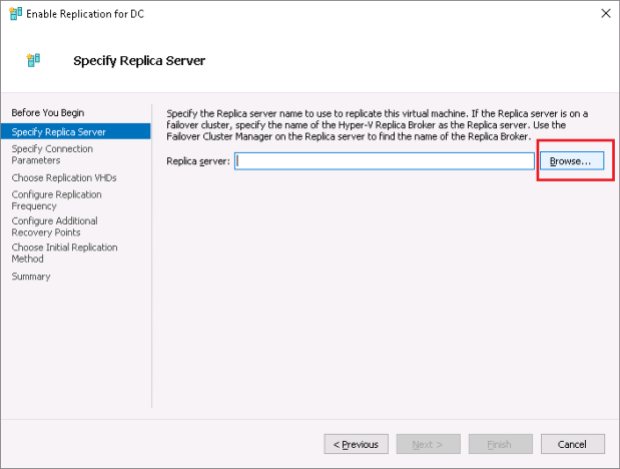
The last step in configuring replication is to enable replication of a certain virtual machine – obviously this should be done on the primary server – Host3.TestEnterprise.com:

Again, Hyper-V suggests to use the newly-installed server certificate for the replication of the DC virtual machine – press OK.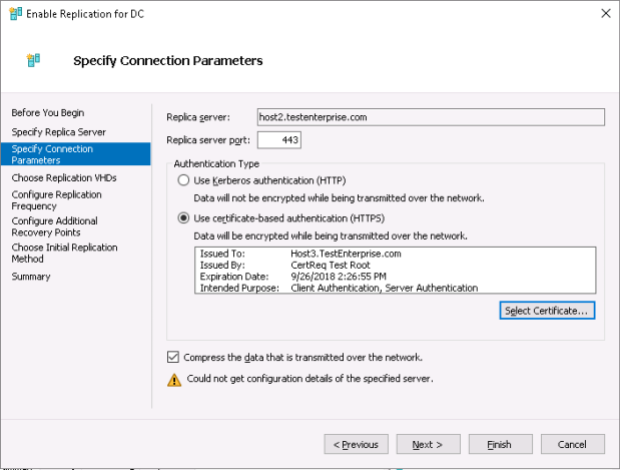
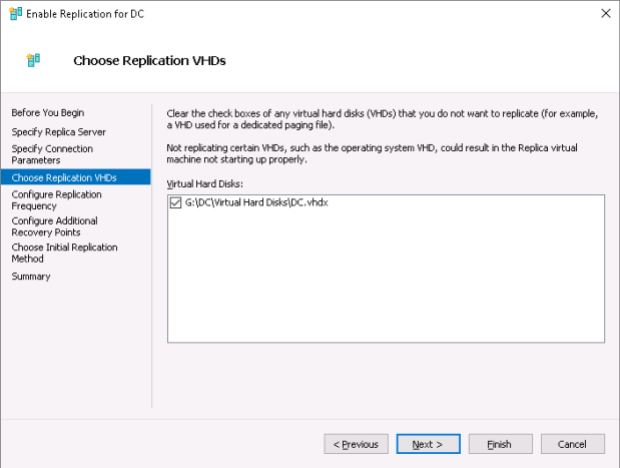
If a virtual machine to be replicated had several virtual hard drives you could exclude some of them from replication here:
Replication frequency:
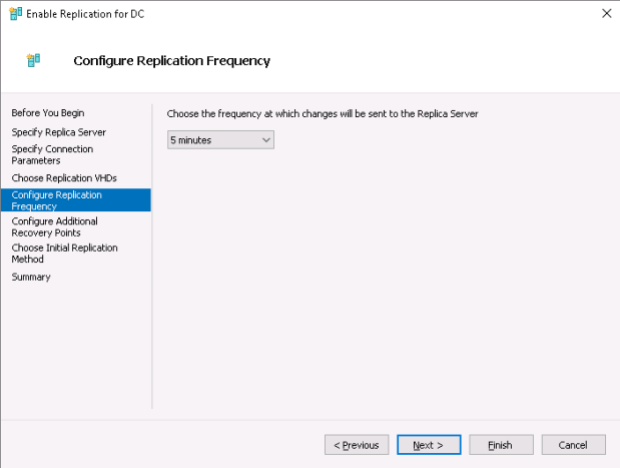
In the next window an administrator should choose whether there’ll be only the last recovery point available or any number of additional (<=24) recovery points (created hourly), and – if required – he/she may tick Volume Shadow Copy Service (VSS) snapshot frequency (in hours)checkbox to enable creation of application-consistent snapshots.
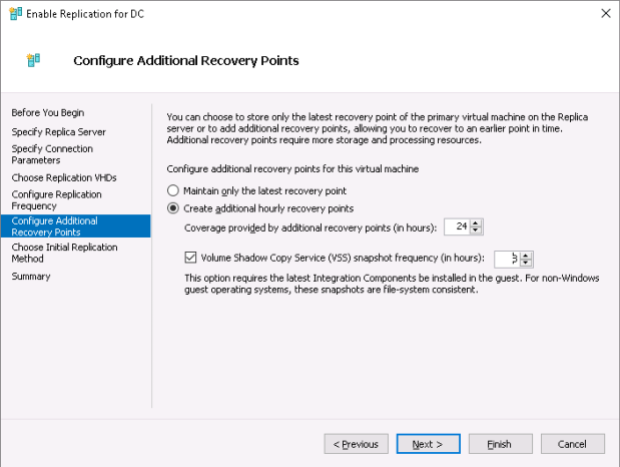
In short, recovery points are the incremental file-consistent archives that don’t take into account the content of memory of replicated VMs – in case of a planned failover it won’t be a problem because a VM must be shut down before a planned failover, thus making a VM “fully consistent”, but in case of unplanned failover many programs will lose their open transactions held in memory (SQL, Exchange…) making file-consistent archives (the recovery points) rather useless. In contrast, application-consistent archives (snapshots) guarantee the application will work inside the replica even after unplanned failover because VSS service will do all required job regarding the information in memory. More information on this here.
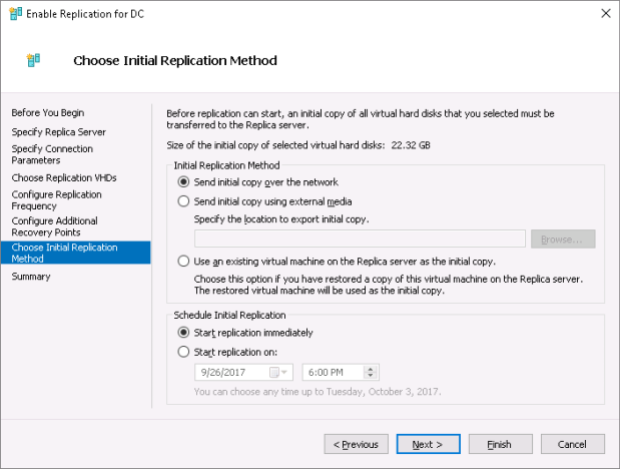
If a VM’s size is to big you can first deliver the VM to the replica server to save time for the initial replication.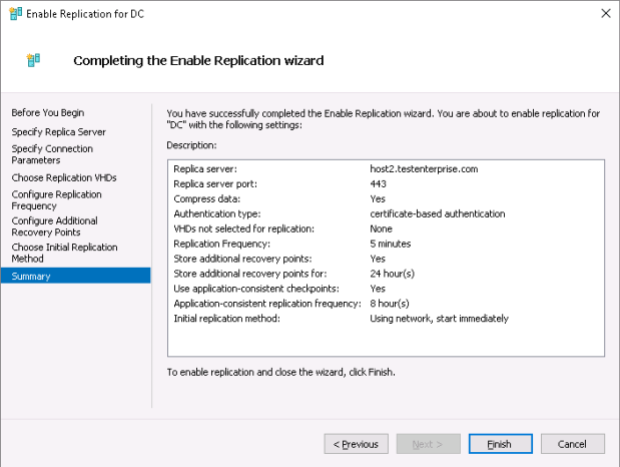
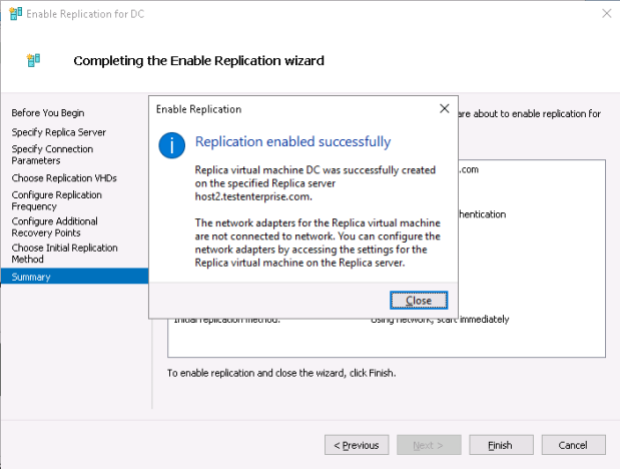
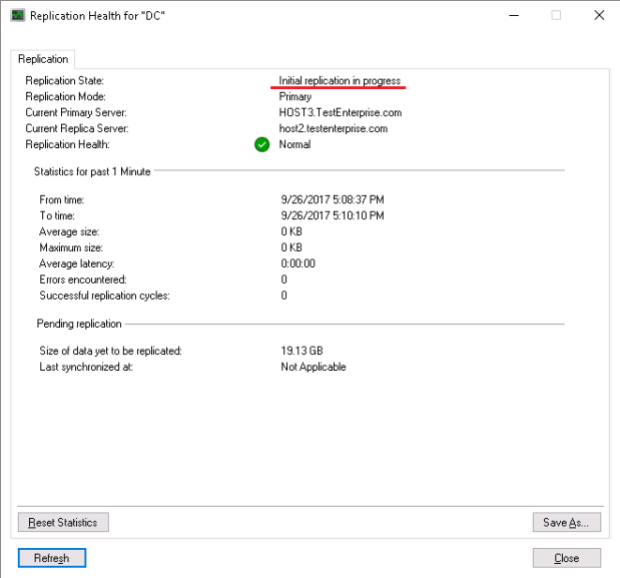
Checking the replication health right after completion of the replication wizard: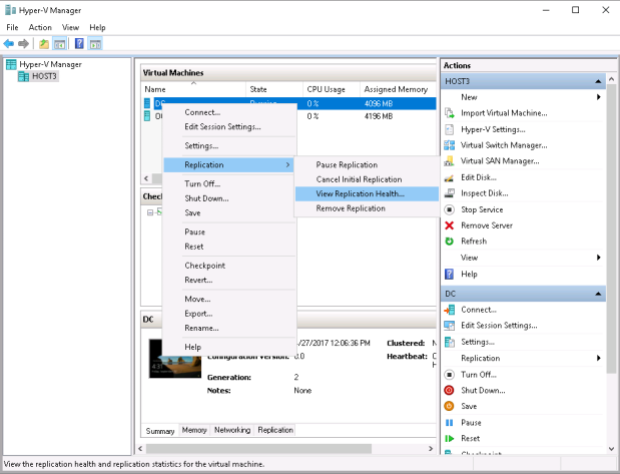
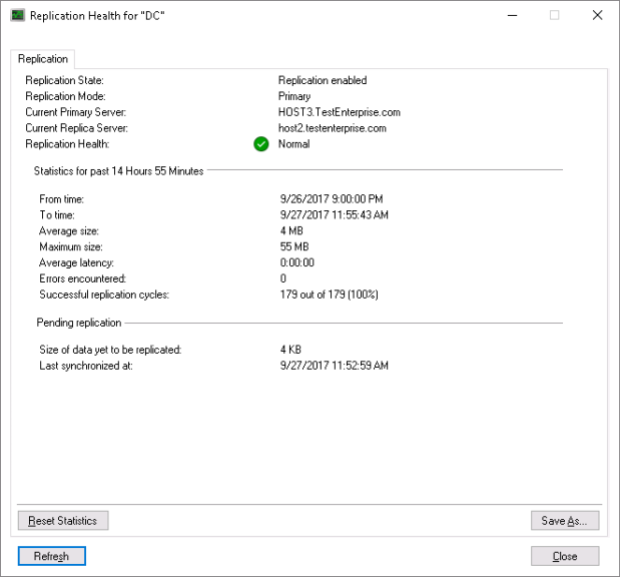
.. and some time later:
The replica VM:
The next step will include testing and reverse replication which can be found here.
Pingback: Windows Server 2016: Configuring Hyper-V Replica in a workgroup environment – Part 2 – Clifton Systems